Firstly, you need to prepare: a virtual machine to install the database (the host can also be used, but a virtual machine is better), place DVTA on the local machine for testing (in fact, the best situation for real testing is to use two virtual machines, one for building the database and the other for testing the system, which can improve the accuracy of the test results). The database must be SQL SERVER, and the version is best to be SQL SERVER 2008 EXPRESS. I downloaded SQL SERVER 2008 developer because I found that other versions do not match the tutorial during installation. After discussing with the R&D colleagues of andu database, I simply downloaded the more complete developer version. After downloading, proceed with the installation.

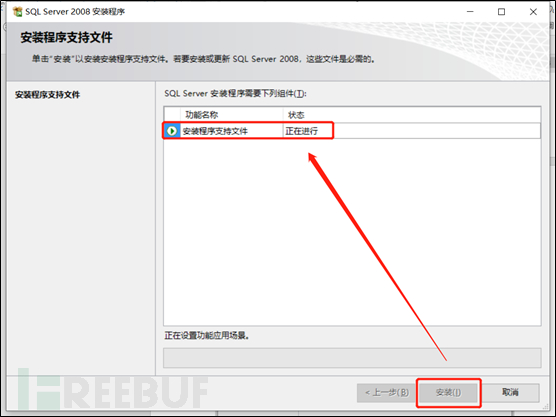
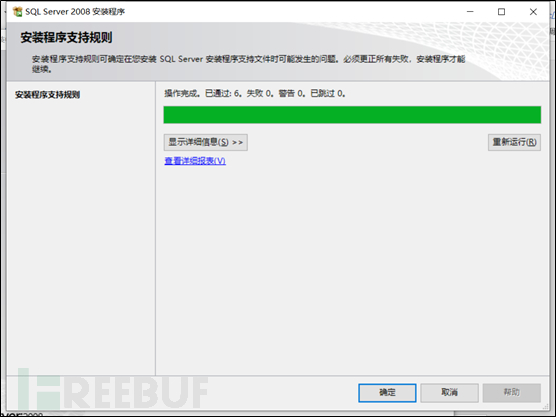 After clicking 'Install', the program prompts that the support files are being installed.
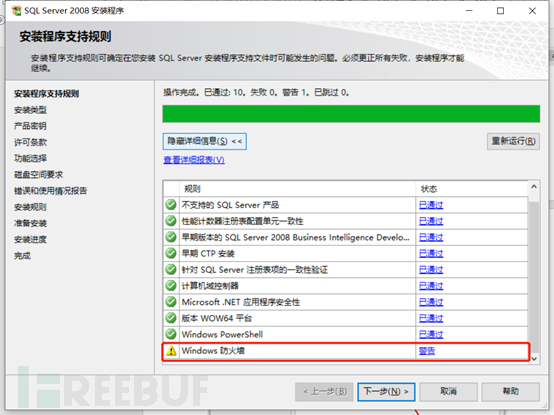
 There may be a firewall warning next. In practice, it does not affect the use, and if you have modified the firewall strategy, there may not be this prompt here. Continue to the next step.
 Select according to your needs, if it is the first installation, just proceed to the next step. There will be several windows next, such as entering a serial number, which are similar to the installation of ordinary programs, just proceed to the next step (the serial number can be obtained through self-searching channels).
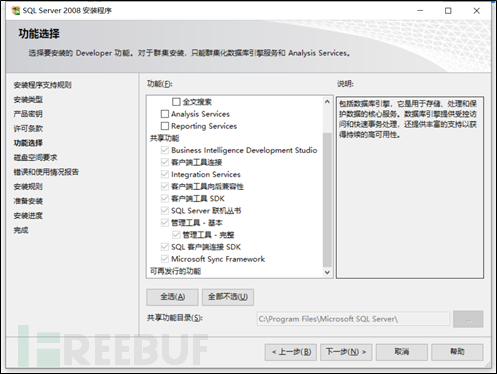
 Continue to the next step and select all options to ensure as few errors as possible when prompted to select installation features in this window.
 Next, you will be prompted to create a new instance. If you are using a database, then select 'Create a new one'. However, this tutorial is for beginners, and most people directly choose the default instance to install.
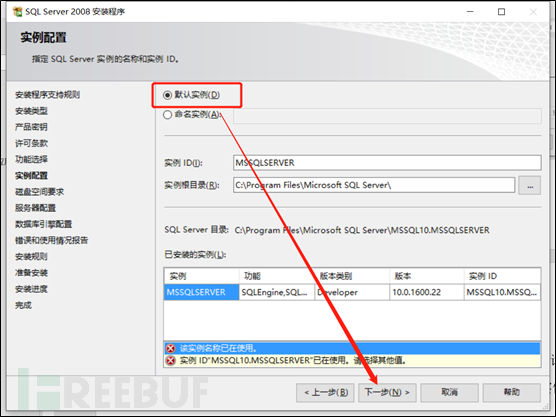
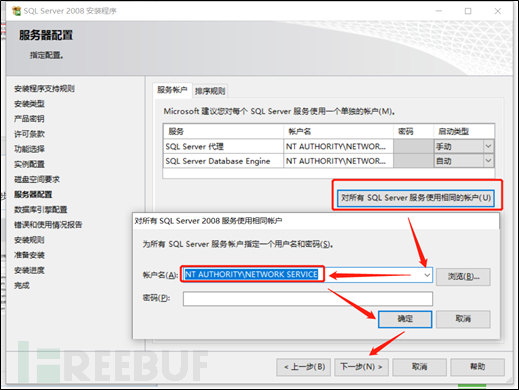 Set it according to the picture shown here.
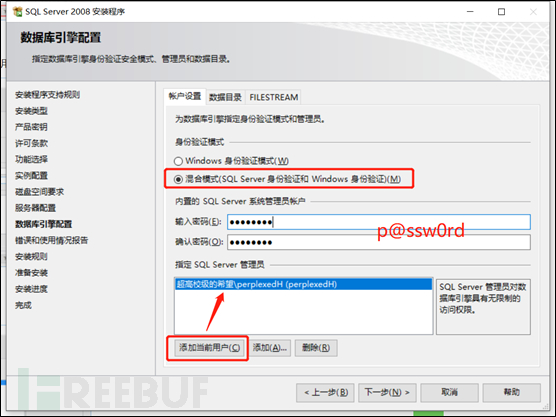
The next step is quite important, set the account password of the database. According to the needs of the target machine, set the administrator account (account name as sa) password to p@ssw0rd. Then click 'Add Current User' to add your current Windows account information and proceed to the next step.
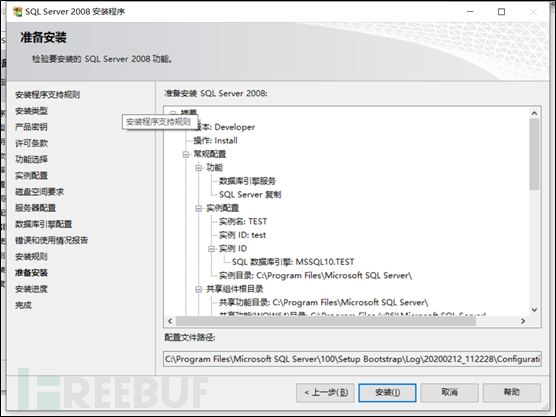
 Next, click 'Next' two or three times (all are trivial settings), until the last step. No other settings are required, just click 'Install' directly.
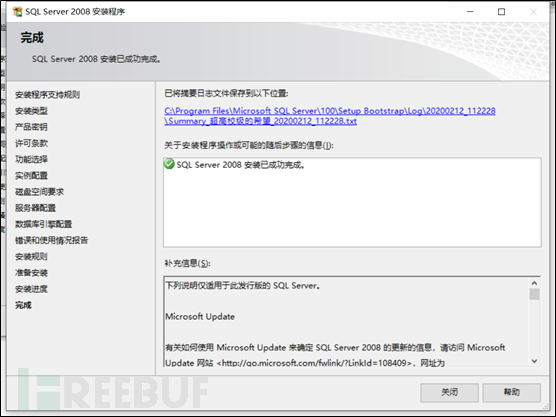
 After installation is complete, click 'Close' to exit.
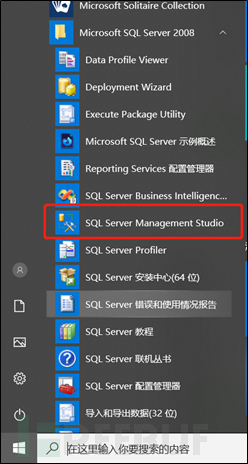
 Next, you need to add test account information to the database. Click the start menu, find the database management end shown in the picture.
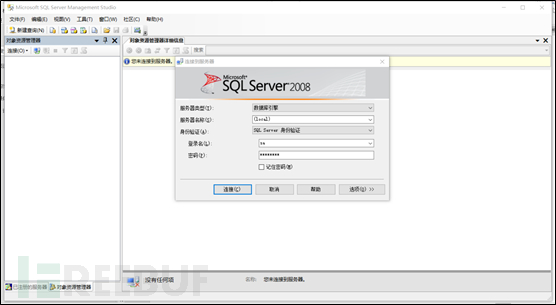
 Enter the password p@ssw0rd to log in to the database.
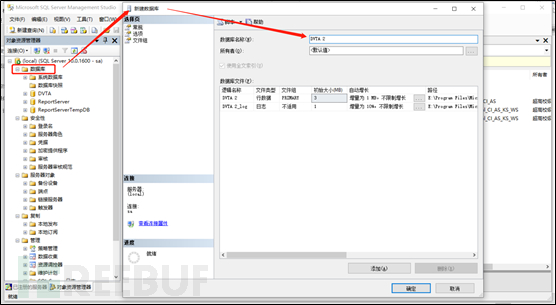
 Right-click on 'Database' on the left, select 'Create a new database', and a new database window will pop up. Enter the database name as DVTA (I have already created a database before, so I named it DVTA2 here to avoid confusion), and click 'OK'.
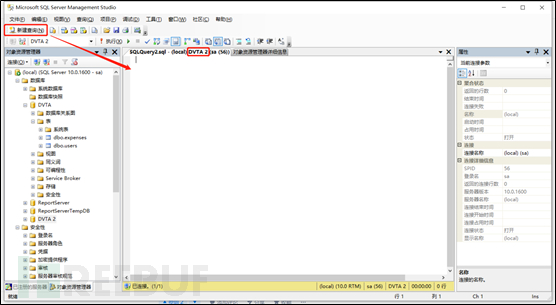
 Next, we need to create two tables to add data. Click 'New Query' in the upper left corner and make sure the tab in the pop-up window is the name of the newly created database (DVTA).
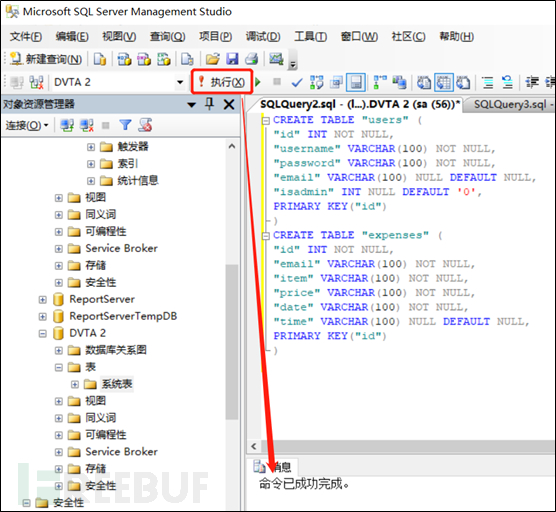
 Then, enter the following commands in the pop-up window:
CREATE TABLE "users" (
"id" INT NOT NULL,
"username" VARCHAR(100) NOT NULL,
"password" VARCHAR(100) NOT NULL,
"email" VARCHAR(100) NULL DEFAULT NULL,
"isadmin" INT NULL DEFAULT '0',
PRIMARY KEY("id")
)
CREATE TABLE "expenses" (
"id" INT NOT NULL,
"email" VARCHAR(100) NOT NULL,
"item" VARCHAR(100) NOT NULL,
"price" VARCHAR(100) NOT NULL,
"date" VARCHAR(100) NOT NULL,
"time" VARCHAR(100) NULL DEFAULT NULL,
PRIMARY KEY("id")
)
After entering, click execute at the top. The prompt indicates that the command has been successfully completed
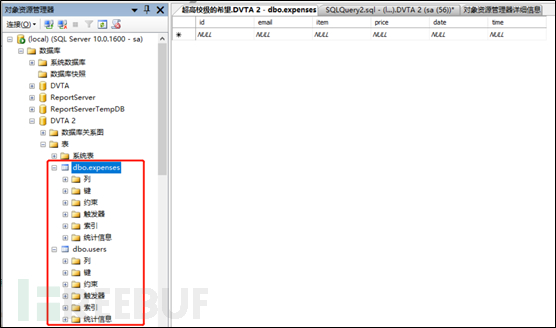
 Right-click on the left list, click refresh, and find that the table has been successfully added.
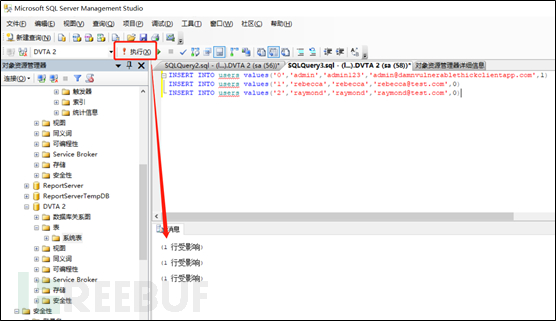
 Next, we need to add data. Continue to create a new query, enter the following statement and click execute:
INSERT INTO users values('0','admin','admin123','admin@damnvulnerablethickclientapp.com',1)
INSERT INTO users values('1','rebecca','rebecca','rebecca@test.com',0)
INSERT INTO usersvalues('2','raymond','raymond','raymond@test.com',0)
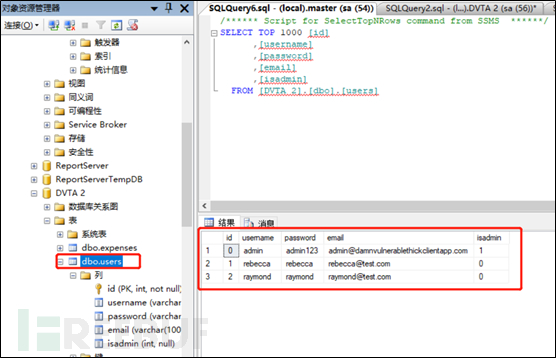
 Next, let's check whether the table data has been added successfully. Right-click on the 'users' table, click 'Select Top 1000 Rows', and find that the data has been added successfully. Up to this point, the establishment of the database has been completed.
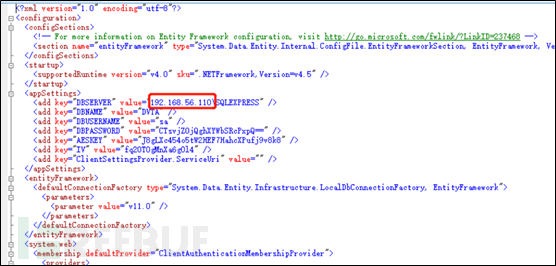
 Next, enter the DVTA folder, open the config file, the path is dvta-master\dvta-master\DVTA\DVTA\bin\Release\DVTA.exe.config. If you have not installed a reader, you can also open it with Notepad by right-clicking on the 'Open with' option. Modify the database address to the address where you set up the target machine (if you have not set up the database on the virtual machine, fill in the local IP address here).
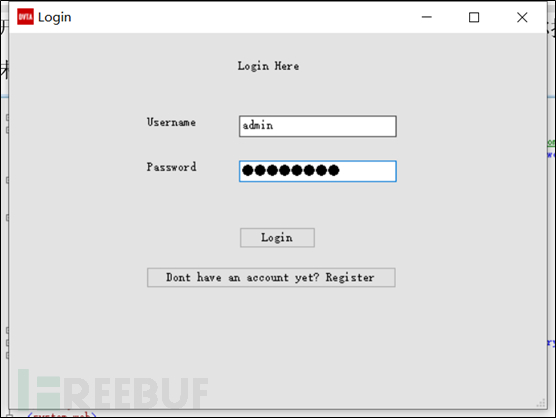
 From now on, all the setup steps are completed, and the next step is to test whether the setup is successful. Open DVTA.exe under the Release folder, and fill in the account information existing in the database, such as admin/admin123.
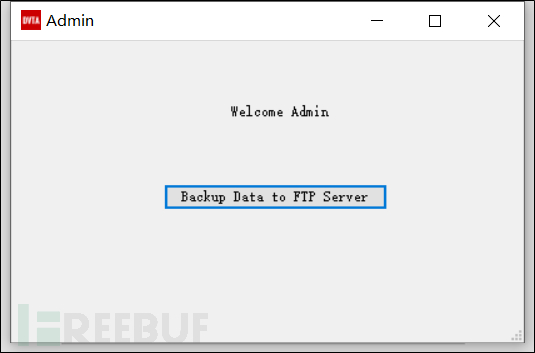
 Login successful, if there are no other error messages and you see the following window, it means that the target machine has been successfully set up.
 Here, I would like to express my gratitude to the R&D department of the company for their assistance and support. To be honest, this is my first time using SQL Server, and it was with the help of my colleagues that I was able to overcome the hurdles and finally set it up successfully. In the future, as I become more proficient in testing technology, I may share some C/S architecture testing methods and procedures, please look forward to it.

评论已关闭